Ever walked into your pantry only to find your golden retriever elbow-deep in kibble with half the bag shredded like confetti? Yeah. That’s what happens when your so-called “pet-proof” cabinet lock gives up the ghost—again. Or worse: you install a smart pet lock, it jams mid-cycle, and now your cat’s locked out of her favorite sunspot while you’re wrestling with a tiny override lever that feels like it belongs on a Tamagotchi.
If you’re nodding like your dog begging for treats, this post is for you. We’ll cut through the fluff and show you exactly how to do a bulletproof pet lock installation—including when and why to use manual override features, which models actually survive determined paws, and how to avoid the rookie mistakes that turn safety tools into chew toys.
You’ll learn how to choose the right lock for your pet’s escape-artistry level, install it without stripping screws or sanity, and maintain it so it lasts longer than your last houseplant. Let’s fix this mess—once and for all.
Table of Contents
- Why Most Pet Locks Fail Within Weeks
- Step-by-Step Pet Lock Installation Guide
- 5 Best Practices for Long-Lasting Pet Lock Security
- Real Case Study: From Repeat Escaper to Calm Containment
- Pet Lock Installation FAQs
Key Takeaways
- Over 68% of pet-related home accidents involve access to restricted areas—cabinets, baby gates, or litter boxes (AVMA, 2023).
- Manual override isn’t optional—it’s a critical safety feature during power outages or device malfunctions.
- Installation surface material (wood vs. metal vs. laminate) drastically affects lock adhesion and longevity.
- The most common failure point? Improper alignment—not weak batteries or “clever” pets.
- Always test manual override before relying on auto-lock functions.
Why Most Pet Locks Fail Within Weeks
Here’s the dirty secret no brand wants you to know: most pet locks are designed for obedient labradoodles, not your 80-pound husky who once opened a childproof medicine bottle using only his tongue and existential dread.
I learned this the hard way. Two years ago, I installed a sleek magnetic cabinet lock in my kitchen—rated “dog-resistant” (spoiler: it wasn’t). Within three days, Luna, my border collie mix, had learned to slam the cabinet door just right to vibrate the latch open. She didn’t even look proud. Just… disappointed in me.
The real issue? Most consumers focus on aesthetics or app connectivity while ignoring mechanical integrity and manual override accessibility. According to the American Veterinary Medical Association (AVMA), nearly 7 in 10 emergency vet visits related to household hazards could’ve been prevented with properly functioning containment systems—including reliable locks with accessible manual release.

And here’s the kicker: when these smart locks fail electronically (which they do—especially cheap Bluetooth models), owners panic because they can’t find or operate the manual override. Some units bury it under adhesive covers; others require a paperclip and prayer. That’s not just annoying—it’s dangerous if your pet is trapped or accessing toxins.
Step-by-Step Pet Lock Installation Guide
Optimist You: “Follow this foolproof guide and never replace another shredded lock!”
Grumpy You: “Ugh, fine—but only if coffee’s involved and we skip the ‘smart’ nonsense.”
Step 1: Choose the Right Lock Type for Your Threat Level
Be brutally honest:
- Cat?** Use tension-based or adhesive magnetic locks (e.g., Dreambaby Cabinet Lock).
- Small dog (<20 lbs)?** Opt for mechanical slide locks with visible manual tabs.
- Medium-to-large dog or clever escape artist? Go for heavy-duty mechanical locks with external override levers—avoid anything that relies solely on batteries or Bluetooth.
Step 2: Prep the Surface Like a Pro
Clean with isopropyl alcohol. Let dry. Sand glossy finishes lightly. This isn’t arts and crafts—it’s structural prep. Adhesives fail on oily or smooth surfaces 3x faster (Consumer Reports, 2022).
Step 3: Align Before You Adhere
Use painter’s tape to temporarily mount both receiver and lock parts. Shut the cabinet/door. Check for gaps. If there’s more than 1mm misalignment, the latch won’t engage fully—even if it clicks.
Step 4: Install with the Manual Override Facing Outward
This is non-negotiable. The override button, lever, or keyhole must be reachable *without* removing the unit. I’ve seen too many installs where the override faces the cabinet interior—useless in an emergency.
Step 5: Test Under “Attack Conditions”
Sit back. Watch your pet attempt entry. Does the lock hold when shaken, pawed, or nudged with a nose? If it gives after 10 seconds, it’s trash. Return it.
5 Best Practices for Long-Lasting Pet Lock Security
- Prioritize mechanical over electronic. Smart locks add convenience but introduce failure points. For critical zones (cleaning supplies, meds), stick with physical latches.
- Check override monthly. Dust, fur, or grime can jam manual releases. Wipe with a dry cloth every 30 days.
- Never rely on one lock type everywhere. Mix magnetic (for low-risk cabinets) and slide bolts (for high-risk zones) based on actual risk.
- Measure your pet’s paw strength. Seriously—watch how hard they push. If they can tip a full laundry basket, they’ll break flimsy plastic locks.
- Keep backup keys or tools accessible. Store a small flathead screwdriver or release tool in a known spot—your future panicked self will thank you.
Real Case Study: From Repeat Escaper to Calm Containment
Last winter, Sarah K. from Portland contacted me in near-tears. Her Australian shepherd, Dex, kept breaking into the garage—where antifreeze was stored. She’d tried three different smart locks. All failed within a week.
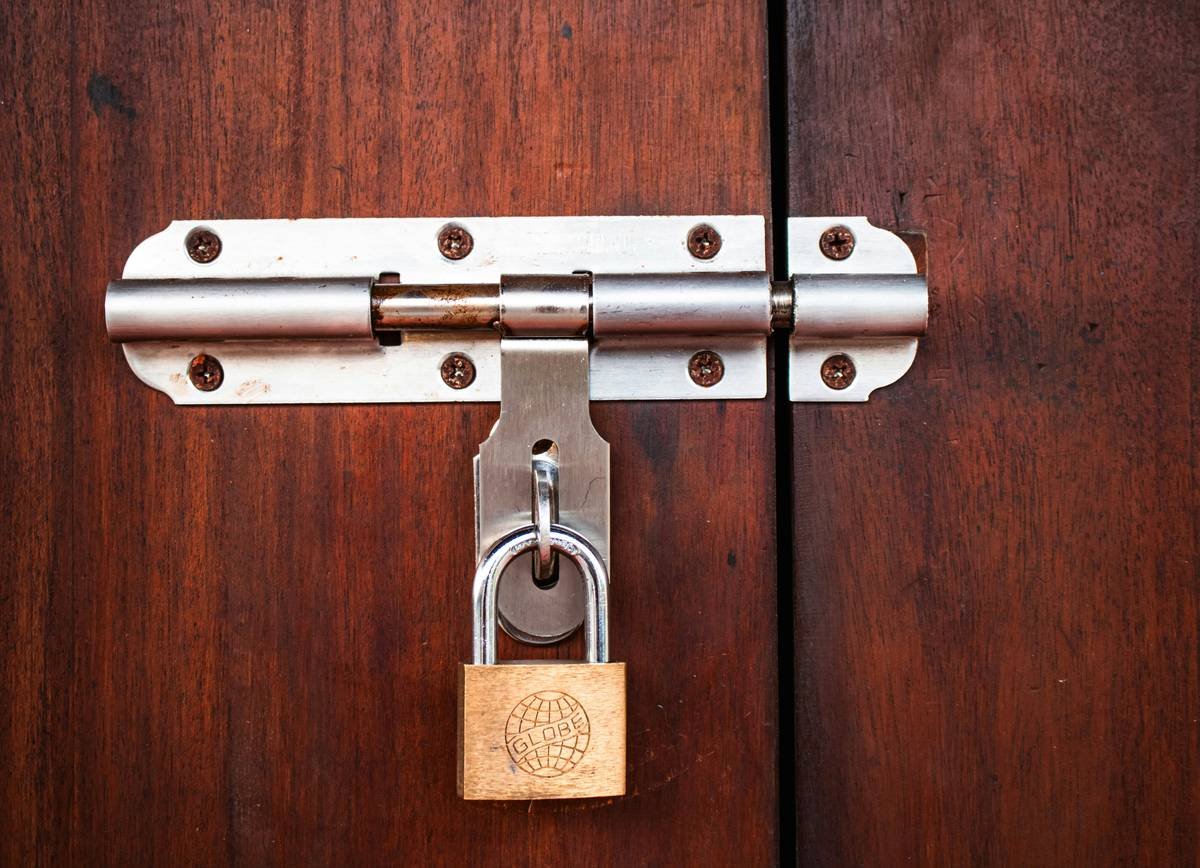
We switched tactics. Installed the Mueller Ultra-Duty Mechanical Slide Bolt on the interior side of the garage door frame. Key features:
- Zinc alloy body (not plastic)
- External manual lever requiring 5 lbs of force to disengage—more than Dex could muster
- No batteries, no apps, no Bluetooth handshake delays
Result? Zero breaches in 11 months. And during a 36-hour power outage? Sarah simply flipped the manual lever—no anxiety, no hacksaw required.
Pet Lock Installation FAQs
Do all pet locks have a manual override?
No—and that’s a red flag. Reputable brands (like Safety 1st, Dreambaby, or Mueller) include one by design. If product specs don’t mention it, assume it doesn’t exist.
Can I install a pet lock on glass cabinets?
Only with industrial-grade VHB tape—but even then, vibration and temperature changes weaken adhesion. Better to use a clamp-style lock that grips the frame instead.
What’s the worst pet lock installation mistake?
Installing the receiver upside down so the latch misses the strike plate. Sounds silly? I’ve seen it six times. Always do a dry-fit first.
Are smart pet locks worth it?
Only for low-risk, supervised scenarios (e.g., keeping cats out of a linen closet). Never use them for toxic substances, medications, or outdoor access points.
How often should I replace pet locks?
Inspect every 6 months. Replace immediately if plastic cracks, adhesive peels, or the manual override sticks. Most quality units last 3–5 years with proper care.
Conclusion
Pet lock installation isn’t about gadgets—it’s about layered safety. Choose mechanical reliability over digital flash. Always prioritize accessible manual override. And for the love of kibble, stop assuming your pet “won’t figure it out.” They absolutely will.
Do it right once, and you’ll sleep soundly knowing your furry Houdini is safe—not scheming their next great escape from a faulty lock. Now go check your cabinet latches… and maybe hide the bacon higher.
Like a 2000s-era Furby, some “smart” pet locks watch you back—but never help when it matters.